 Sudden Valley Siding
 Building New in Happy Valley? Get the Windows Right the First Time
New construction gives you one real chance to install windows correctly before siding, trim, and interior finish work closes everything up. Once the crew moves on to drywall and paint, fixing a window mistake means tearing into finished work. For homes going up in and around Happy Valley, that first installation has to account for what Whatcom County weather actually does to a house year-round — not just what the window looks like on install day.
We're a Sudden Valley-based crew, and Happy Valley is inside our regular service area. That matters more for new construction than most homeowners realize, because a new-construction window install is really a systems job: window unit, flashing, weather barrier, and siding interface all have to work together as one assembly. Get one piece wrong and the whole assembly can fail quietly for years before it shows up as a stain on drywall.
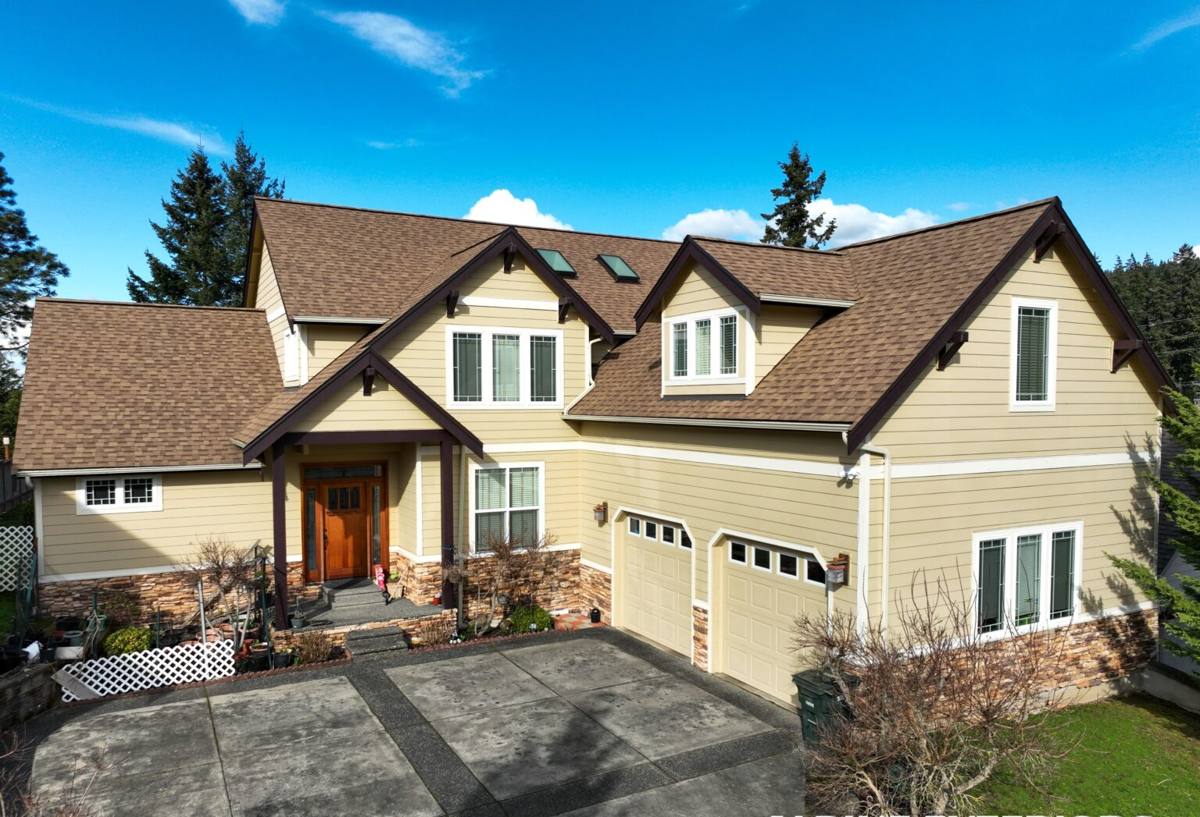
What Happy Valley's Climate Actually Does to a New Window Install
Happy Valley sits in the same general climate band as the rest of the Sudden Valley area — close enough to marine air to pick up salt-laden moisture, far enough into the foothills to get real driving rain when a system comes through, and shaded and damp enough in the off-season to grow moss on anything that holds standing water. None of this is exotic weather, but it's persistent, and persistent moisture is what wears down a window assembly over the decades a new home is supposed to last.
Salt Air and Hardware
Salt-laden air accelerates corrosion on window hardware, fasteners, and cladding that isn't rated for it. On new construction this is easy to solve up front — the wrong screw or flashing fastener buried behind siding is a decades-long problem once it's covered up.
Driving Rain and Wind-Driven Water
Wind-driven rain doesn't just fall on a window, it gets pushed sideways and up under trim and lap siding. A new-construction opening needs flashing and sealant details designed for water moving in more than one direction, not just water running straight down the wall.
Moss Season and Trapped Moisture
Long, damp stretches with limited direct sun let moss and algae establish on sills, trim, and anywhere water sits instead of draining. On a new build this is mostly a design issue — sill pitch, drip edges, and gaps that let a surface dry out between rain events.
What a Correct New-Construction Window Install Involves
New-construction windows are installed with a nailing fin before the wall's weather-resistive barrier (WRB) and siding go on, which is different from a retrofit or replacement install done into an existing wall. Done right, the sequence looks like this:
- Rough opening checked for square, level, and correct size before the window ever shows up on site
- Sill pan flashing installed first, sloped to shed any water that gets past the window to the outside, not into the wall cavity
- Window set, shimmed plumb and square, and fastened per the manufacturer's schedule — not "close enough"
- Side and head flashing integrated in the correct shingle-lap order so water sheds down and out, never up and in
- Nailing fin taped or sealed to the WRB with a compatible flashing tape — mismatched tape and housewrap chemistry is a real failure point
- Interior and exterior sealant joints placed where the manufacturer specifies, and nowhere else — over-sealing a window can trap water instead of letting it escape
- Final check for square and smooth operation before siding and trim close in the opening
Every one of those steps is inspectable on the day it's done and effectively invisible a week later. That's the core risk of new-construction window work: a shortcut doesn't show up as a callback next month, it shows up as a rot or mold problem in five or ten years.
Products and Materials: What We Look For
We don't push a single brand on every job — window selection depends on the home's design, budget, and the builder's or homeowner's finish goals. What we do hold to is a consistent standard for how a window has to perform in this climate, regardless of brand:
- Frame material rated for sustained moisture exposure, not just occasional wetting
- Corrosion-resistant fasteners and hardware appropriate for salt-influenced air
- A nailing fin and flashing flange that's compatible with common WRB and tape systems
- Manufacturer-published installation instructions we can actually follow and document
- A warranty structure that covers the glass unit, hardware, and finish — and that's clear about what voids it (usually improper installation, which is exactly why we follow the printed instructions to the letter)
Vinyl, fiberglass, wood-clad, and aluminum-clad windows are all viable choices depending on the project. Where we steer away from a product, it's almost always about long-term maintenance burden or installation sensitivity in a wet climate — for example, some finishes and frame designs need more diligent upkeep to avoid moisture problems at the sill, which is a fair trade-off for some homeowners and not for others. We'll walk through that honestly rather than default to whatever's easiest to install.
Material Comparison for New Construction in This Climate
| Frame Type | Moisture Resistance | Maintenance | Typical Fit |
|---|---|---|---|
| Vinyl | Good — won't rot, minimal corrosion risk | Low | Budget-conscious new builds, rental/spec homes |
| Fiberglass | Very good — dimensionally stable in wet/dry cycles | Low | Mid-to-upper builds wanting longevity |
| Aluminum-clad wood | Good exterior protection, interior wood needs care | Moderate | Custom homes wanting a wood interior look |
| Solid wood | Requires diligent maintenance to resist moisture | High | Historic or architecturally specific builds only |
Cost Factors on New-Construction Window Jobs
We won't quote a number here because every build is different, but the variables that actually move the price on a Happy Valley new-construction job are consistent:
| Factor | Why It Matters |
|---|---|
| Number and size of openings | Labor and flashing material scale directly with opening count and total glass area |
| Window brand and frame material | Vinyl, fiberglass, and clad-wood units carry different material costs |
| Wall assembly complexity | Rainscreen gaps, foam sheathing, and multiple WRB layers take more time to flash correctly |
| Site access and building height | Second-story and hard-to-access openings need more setup time and safety equipment |
| Schedule coordination | Working around the builder's framing and siding timeline can add or save time depending on how tight the sequencing is |
Why a Local Happy Valley Crew Makes a Real Difference
A window installer who's never worked in Whatcom County can absolutely install a window correctly in a textbook sense. What local experience adds is knowing how the general Sudden Valley and Happy Valley weather pattern actually stresses an assembly over time — which sides of a house catch the worst driving rain, how much shade a lot typically holds through the damp months, and why sill pitch and drainage gaps aren't optional details here the way they might be in a drier climate.
We also already know the practical side of working in this area: typical builder schedules, common wall assemblies used by local framers, and how to sequence our work so we're not the reason a build falls behind. That coordination matters on new construction in a way it doesn't on a standalone replacement job, because windows are one link in a longer chain of trades.
A Practical Checklist for Homeowners and Builders
- Confirm sill pan flashing is part of the install plan — not every crew includes it by default
- Ask what flashing tape brand is used and whether it's compatible with your WRB
- Get the manufacturer's written installation instructions referenced in your contract, not just "industry standard"
- Clarify who's responsible for final sealant and caulking — installer, framer, or painter
- Ask how window openings on the weather-exposed sides of the house are handled differently, if at all
- Keep photos or a punch list of flashing and sill work before siding closes it in
Sequencing With Your Build
Windows typically go in after the framing is inspected and the WRB is on, and before siding and exterior trim. On new construction we coordinate directly with the builder or general contractor to hit that window in the schedule — literally and figuratively. Showing up too early means working around incomplete framing; too late holds up the siding crew. A local crew that's done this sequencing before on other Sudden Valley and Happy Valley builds tends to slot in without drama.
We also flag anything that looks off in the rough openings or WRB detailing before we set a single window — it's much cheaper to correct a framing or flashing issue at that stage than after the windows and siding are both in place.
What We Check Before We Call a Job Finished
Before we sign off on a new-construction window install, we go through the same checks every time: every unit operates smoothly and locks properly, every sill has positive drainage with no low spots, flashing laps are in the correct shingle order with no reverse laps, sealant joints are placed per the manufacturer's spec and nowhere else, and nothing is left exposed that should be covered by siding or trim on the builder's schedule. It's a short list, but skipping any one item is how new homes end up with hidden moisture problems years down the road.
If you're building in Happy Valley or elsewhere around Sudden Valley and want a crew that treats new-construction windows as a full weather-resistant assembly rather than just "hanging a window," we're glad to talk through your project. Reach out for a free, no-pressure estimate — the form below gets you started.