 Sudden Valley Siding
 Building New in Columbia? The Windows Deserve as Much Attention as the Framing
If you're building new in the Columbia area near Sudden Valley, the windows are one of the few components on the house that have to get everything right the first time — waterproofing, structural attachment, energy performance, and appearance — with zero history to fall back on. On a remodel, you can sometimes see how the old window failed and correct for it. On new construction, there's no old window to learn from. The install has to be correct from the flashing tape up, because the siding, trim, and interior finish all get built around it and buried behind it.
We install new-construction windows on homes throughout Whatcom County, and the Columbia neighborhood has its own set of conditions worth planning for: exposure to wind-driven rain off Lake Whatcom and the surrounding terrain, a damp shoulder season that runs long, and the kind of persistent moisture that keeps moss and algae established on north- and shade-facing walls most of the year. None of that is unusual for this part of Washington, but it does mean a window install that would pass fine in a drier climate can still fail here if it's rushed.
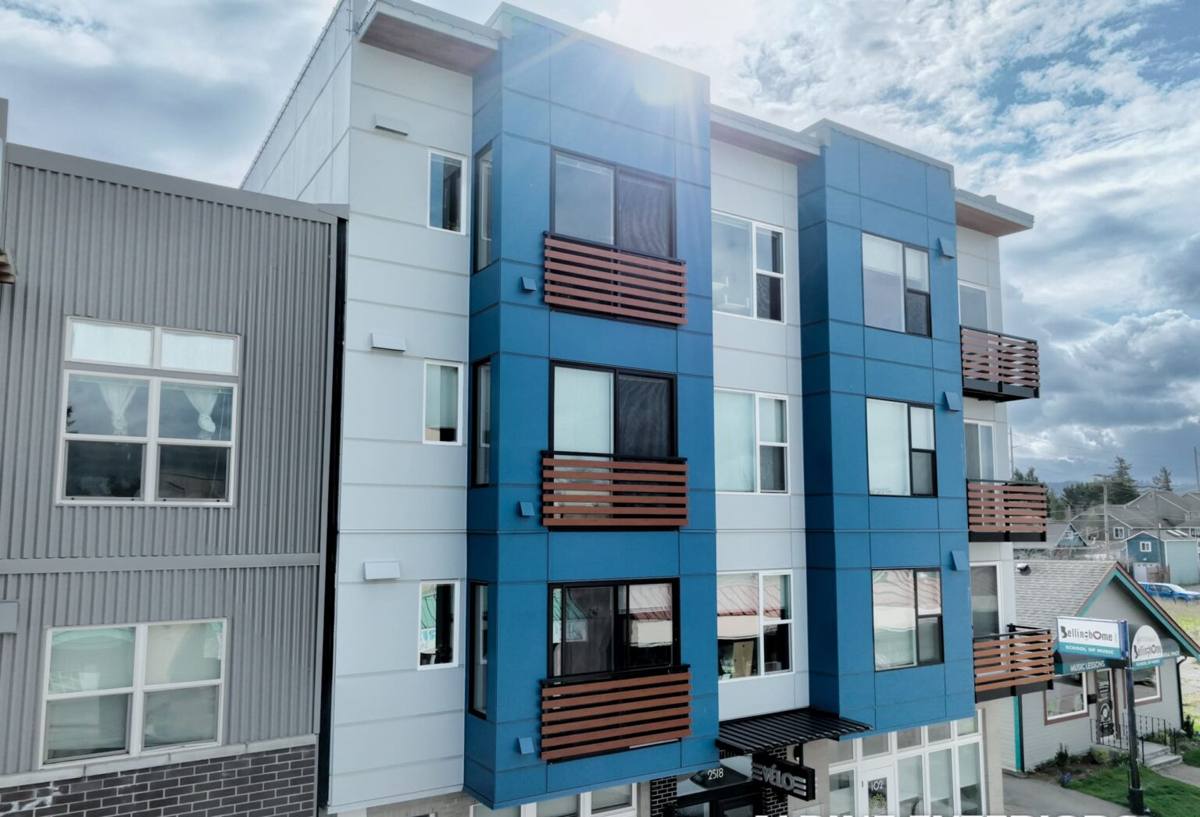
New-Construction vs. Replacement Windows: Why the Distinction Matters
"New-construction" isn't a marketing term — it describes a specific window design and a specific installation method, and confusing the two is one of the more common mistakes we see corrected later at real expense.
The Nail Fin
New-construction windows have a flange, or nail fin, around the perimeter of the frame. That flange gets fastened directly to the sheathing and integrated into the weather-resistive barrier (WRB) before siding goes on. Replacement windows, by contrast, are flangeless and designed to slide into an existing opening without disturbing the exterior cladding. Using a replacement-style window in new construction skips the flange-and-flashing system that's doing most of the water management work, and it shows up years later as staining or soft framing around the opening.
One Chance to Sequence It Right
On new construction, the window install has to happen in the correct order relative to the WRB, flashing tape, and siding: housewrap or building paper laps over the top flange and under the sides and bottom, sill pan flashing goes in before the window ever sets, and head flashing goes on after. Get the sequence backwards and you've built a shingle-style path for water to run the wrong way — straight into the wall — and it won't show itself until the interior finish is already installed.
What Columbia's Climate Actually Asks of a Window Install
Every install method we use is a direct response to what the weather does to a house in this part of Whatcom County, not a generic best practice pulled from a manual written for a drier region.
- Salt air and moisture: Airborne moisture accelerates corrosion on lower-grade fasteners and hardware, and it degrades cheap sealants faster than their published service life suggests. We spec corrosion-resistant fasteners and flashing components rated for coastal and near-water exposure.
- Driving rain: Wind-driven rain doesn't just fall — it pushes sideways and finds any gap in the flashing plane. Sill pan flashing with a back dam, properly lapped WRB, and correctly ordered flashing tape are what actually stop that, not caulk alone.
- A long moss season: Shaded, north-facing walls in Columbia stay damp for extended stretches, which keeps organic growth active on trim and sills. Window and trim details that shed water cleanly, rather than trapping it in a horizontal ledge, keep moss and algae from getting a foothold right where they'd stain the hardest to reach.
None of this requires exotic materials. It requires discipline in the sequencing and a crew that treats flashing as the primary waterproofing system, with sealant as a backup — not the other way around.
What a Correct New-Construction Window Install Involves
This is the sequence we follow on every new-construction opening, and it's worth knowing as a homeowner or builder so you can ask your contractor the right questions.
- Rough opening checked for square, level, and correct dimension before the window ever arrives on site.
- Sill pan flashing installed with a back dam and sloped to shed water outward, never flat or reverse-sloped.
- Window set, shimmed for level and square, and fastened per the manufacturer's schedule — not "close enough."
- Head, jamb, and sill flashing integrated with the WRB in correct shingle-lap order: sides over the sill flashing, head flashing over the sides.
- Flashing tape pressed and rolled for full adhesion, not just laid down — this matters more in cooler, damp install conditions common here.
- Low-expansion foam or backer rod and sealant at the interior gap for air sealing, separate from the exterior water management layer.
- Exterior trim and siding tied in with clearances that allow drainage and paint or finish maintenance later.
Skipping or shortcutting any one of these steps doesn't usually cause an immediate problem — it causes a slow one, which is exactly why new-construction window work rewards a crew with a track record rather than the lowest bid.
Window Material Options: A Straight Comparison
We install several window materials and don't push one product line as a fits-all answer. Here's how the common options actually compare for a Whatcom County build.
| Material | Moisture Performance | Maintenance | Typical Cost Position |
|---|---|---|---|
| Vinyl | Good — won't rot, minimal seam risk if welded correctly | Low — occasional cleaning | Most economical |
| Fiberglass | Excellent — dimensionally stable in wet/dry cycling | Low | Mid to upper-mid |
| Wood-clad | Good exterior, but interior wood needs protection from any interior condensation | Higher — periodic finish upkeep | Upper |
| Aluminum | Fair — prone to condensation without a thermal break; corrosion risk in salt-air exposure without proper coating | Moderate | Mid |
For most Columbia builds, we steer homeowners toward vinyl or fiberglass because they hold up well against the area's moisture load with the least ongoing upkeep. Wood-clad is a legitimate choice for homeowners who want that look and are willing to maintain it, and we'll install it correctly if that's the direction you choose — we just don't sugarcoat the maintenance commitment it carries in a climate this damp.
Cost Factors on a New-Construction Window Package
We don't quote a per-window price without seeing the plans, but these are the variables that actually move the number on a new build.
| Factor | Why It Matters |
|---|---|
| Window count and sizing | Larger openings and specialty shapes (arched, picture) cost more per square foot than standard operable units |
| Material and glass package | Low-E coatings, gas fill, and triple-pane options add cost but pay back in comfort and energy use |
| Flashing and WRB system | Quality flashing tape and sill pan systems cost more than caulk-and-hope, and it shows in the price — but it's the cheapest insurance on the whole job |
| Access and site conditions | Multi-story openings or tight scaffolding needs add labor time |
| Coordination with the build schedule | Working directly with the framer and builder's timeline avoids delay costs and rework |
How We Work With Builders and Homeowners on New Construction
New-construction window work is a coordination job as much as an installation job. We typically get involved once the rough openings are framed and before the WRB goes on, so the flashing plan is set up correctly from the start rather than patched around already-installed housewrap. On a Columbia build, that usually means:
- Reviewing the window schedule against the plans before ordering, to catch sizing or swing-direction errors early
- Coordinating install timing with the framer and siding crew so the WRB and flashing sequence isn't rushed or done out of order
- Walking the openings with the builder or homeowner before siding closes them in, so any questions get answered while it's still easy to fix
- Documenting the flashing and fastening details for the homeowner's records, which matters for warranty claims down the road
Mistakes We See — and Build Our Process to Avoid
Most window problems on new construction trace back to a handful of repeatable errors: sill pans installed flat instead of sloped, flashing tape applied in the wrong lap order, fasteners that skip the manufacturer's nailing schedule to save time, or sealant used as a substitute for proper flashing instead of a backup to it. In a climate with as much sustained moisture as Whatcom County sees, each of these shortcuts turns into a wall system that stays damp longer than it should, which is exactly the condition that lets rot and moss take hold behind the trim where nobody's looking.
Why a Crew That Already Works Columbia Is Worth Choosing
A contractor who's already installed windows on other homes in Columbia and the wider Sudden Valley area isn't guessing at how the site behaves — they've seen how the wind and rain hit these lots, which orientations take the worst of the driving rain, and which details actually hold up after a few wet seasons instead of just looking right on install day. That local track record is worth more on new construction than it is on almost any other exterior project, because the flashing and sequencing decisions made during the build are the ones you can't easily inspect or fix once the siding and interior finish are closed in around them.
Get a Free Estimate
If you're framing a new home in Columbia or elsewhere around Sudden Valley, we're happy to review your window schedule and walk the site before anything closes in. There's no cost and no pressure — just a straight assessment of what your build needs to hold up against this area's rain and moisture over the long run. Use the form below to get started.